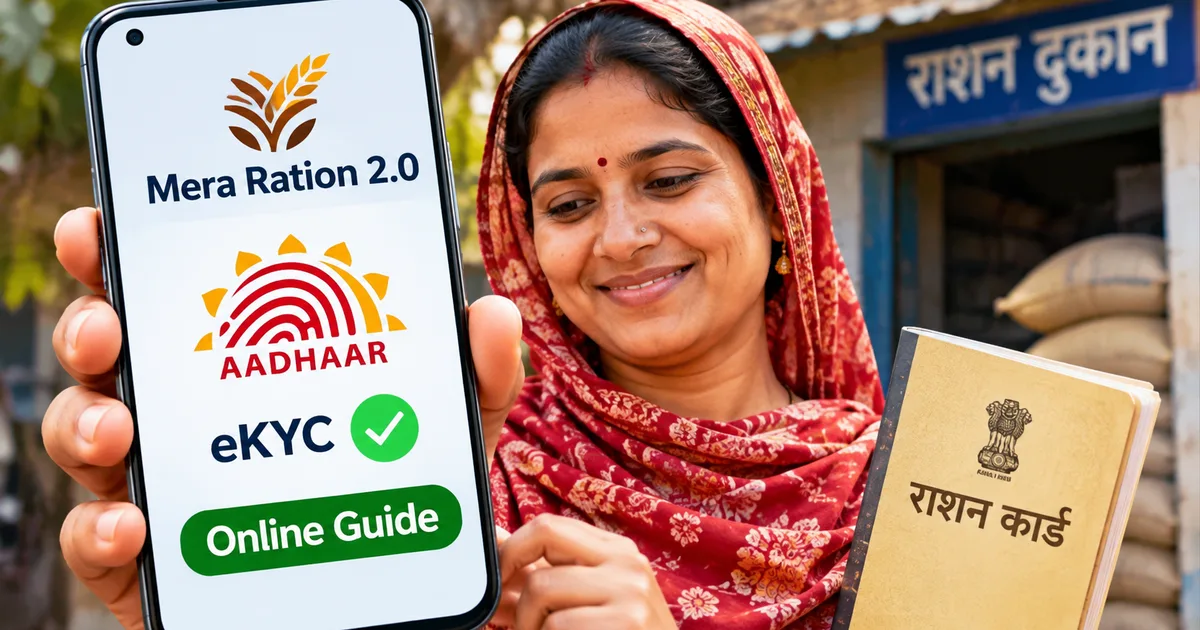
If you collect monthly subsidized food grains from your local ration shop, you've probably heard warnings about completing your Mera Ration 2.0 Aadhaar eKYC before government deadlines kick in. Nobody wants their household food grain quota suspended over missing biometric records. But you don't need to spend half your morning standing in a slow-moving line outside your local dealer just to scan your thumb on an old machine. You can finish the whole verification right from your sofa using your phone.
I tried doing this for my uncle's household last week. Honestly, while state apps are often clunky, this whole setup worked in under ten minutes once we figured out the lighting.
Here's the deal. Every single person on your card needs their own verification. So if four family members share one ration card, all four people have to complete this process.
Why your ration card eKYC matters right now
The central government introduced mandatory periodic eKYC under the National Food Security Act to clean up beneficiary databases across all Indian states. A lot of families last did their biometric linking back around 2013 when digitised ration cards first rolled out. That was over a decade ago. Over the years, millions of records have gathered errors, from deceased relatives to family members who moved away after marriage.
So authorities set up a five-year mandatory update cycle. The exact numbers here are a bit fuzzy, but officials want to stop leakages where ghost accounts pocket subsidized grain meant for struggling families. If you ask me, this cleanup is long overdue.
Under revised Ministry of Consumer Affairs and Food Public Distribution norms, states must suspend grain allocations for unverified individual beneficiaries once the periodic verification window closes.
If your verification stays incomplete, your dealer's electronic point of sale machine blocks your monthly grain quota. Plain and simple. And sorting out a blocked allocation means multiple trips to the taluk food inspector's office (annoying, I know), which nobody has time for on a busy weekday.
Two apps you need on your phone before starting
Before touching anything on your screen, head over to the Google Play Store on an Android phone. You need two separate, free apps built by official government bodies.
First, download the Mera Ration 2.0 app (which is listed in some state notices as MeraKYC). It is the department's official public distribution app. The tool lets you check your monthly grain quota, locate nearby fair price shops, view card details, and update family records.
Second, you must install the Aadhaar FaceRD app released by the Unique Identification Authority of India (UIDAI).
Thing is, Mera Ration 2.0 doesn't capture facial biometrics on its own. UIDAI requires that face scans run through their dedicated background authentication engine for security reasons. You won't open FaceRD like WhatsApp or a regular tool. It doesn't even have an app icon on your home screen. It just sits silently on your system and fires up when an approved government app asks for camera verification. I think that design trips up plenty of users.
Make sure your camera lens is clean. But if your mobile number isn't linked to your Aadhaar card yet, you'll need to visit an Aadhaar Seva Kendra first. Check our guide on updating your Aadhaar card documents online to sort out mismatches first.
Step-by-step guide to complete Mera Ration 2.0 Aadhaar eKYC online
Grab your physical ration card first. Keep everyone's twelve-digit Aadhaar number handy, and make sure the phone that receives your Aadhaar OTPs is sitting right beside you.
- Download and install Mera Ration 2.0 and Aadhaar FaceRD from the Google Play Store on an Android device running Android 9.0 or higher. Confirm that the publisher name says National Informatics Centre or Unique Identification Authority of India so you don't install an imposter application.
- Open Mera Ration 2.0 and choose your preferred language from English, Hindi, or regional Indian languages like Kannada, Tamil, Telugu, Marathi, and Bengali. When the login screen opens, select the citizen login option, type your twelve-digit Aadhaar number, and fill in the visual captcha code displayed on screen.
- Tap the green Get OTP button. An authentication code arrives on the mobile number linked to your Aadhaar within thirty seconds. Enter this six-digit number and create a secure four-digit mPIN so you can jump back into the app later without waiting for fresh SMS codes every single time.
- Once you land on the dashboard, tap the icon labeled Family Details. You'll see a complete roster of every person registered on your household card, including their full names, ages, gender, and relationship to the head of the house.
- Check the eKYC column next to each family member. If a name has a green tick or marked verified, that person is set. If the column displays unverified or a red cross, tap that person's name to begin their biometric check.
- Select the Face eKYC option on the verification screen. Grant the one-time camera permission prompt if your operating system asks. The Aadhaar FaceRD camera viewfinder launches automatically with an oval facial boundary on screen.
- Position the family member's face inside the oval frame in a bright room with no harsh backlighting. Ask them to look straight at the front lens without wearing dark glasses, heavy caps, or face masks. The app prompts them to blink gently. Once the system detects natural eye movement, the camera snaps the image and uploads the biometric packet to UIDAI servers.
- Wait five to ten seconds while the spinner resolves. You'll see a green confirmation screen displaying a success receipt number along with a timestamp. Tap submit to record the approval on your state food distribution ledger.
Repeat this camera routine for every unverified member in your house. Don't rush it. If you have elderly relatives or small kids at home, steady lighting makes all the difference. In my experience, natural daylight through an open window works best (which makes sense, actually), since indoor ceiling lights often cast harsh shadows over the eyes.
How to check your ration card eKYC status online
Once you submit the face scan, don't just assume it went through. State server databases sync at different intervals, so updates often take time to show up.
Here is how you confirm that your verification is saved. Reopen Mera Ration 2.0 the next morning. Log in using your four-digit mPIN and open the family details tab. Then check the status column next to each person.
If the app shows Status: Y next to the member's name, you're set. The letter Y stands for Yes. You don't need to touch this again for the next five years (which, if you ask me, is a huge relief).
If you see Status: N, the submission failed or timed out during server matching. Don't panic. Just wipe your camera lens clean. Stand in natural daylight near an open window and run through the facial scan once more.
You can also check your status directly on your state food department portal, like Ahara in Karnataka or ePDS in Bihar. Visit the citizen corner on the portal. Type your ration card number to pull up your active member list. Both portals read from the same central public distribution ledger. We cover several similar government processes in our step-by-step tech guides for Indian residents.
What to do if face verification fails on your phone
Sometimes tech just refuses to cooperate. Maybe your selfie camera is scratched, or perhaps an older family member has facial contours that don't match UIDAI photos taken twelve years ago. I'm not sure exactly why the facial matching tolerance is so strict, but these glitches happen all the time.
Look, you don't have to give up your monthly quota if the phone app keeps failing.
You can complete the whole process offline at your assigned Fair Price Shop. Just walk over during regular distribution hours. Tell the shopkeeper you want to do offline ePoS verification.
The dealer enters your ration card number on their handheld electronic Point of Sale terminal. Each family member places their index finger on the optical fingerprint scanner. The machine beeps and prints a small paper slip, and the central server updates right away. If fingerprints don't register because of rough skin from manual work, don't worry. Most modern ePoS machines also have an iris camera that scans your eye in two seconds flat.
Offline verification at your local dealer costs zero rupees. Never pay any fee or extra charge to the dealer for scanning biometrics. In my experience, a few sketchy dealers try asking for money, but the central government pays for the equipment and internet connection directly.
Watch out for fake ration card update links
Whenever government rules change, scammers jump at the chance to cheat unsuspecting people. It happens every time. Over the past few months, thousands of WhatsApp messages and SMS alerts have hit Indian families warning that their ration card is blocked. I think almost everyone has seen these sketchy alerts by now.
Those links never lead to genuine government domains. Instead, they push shady APK files designed to steal UPI credentials and bank balances. You can read more about avoiding these scams in our report on fraudulent text message scams circulating across Indian telecom networks.
Here are basic safety rules to protect your data:
- Never download APK files sent via WhatsApp, Telegram, or text message. Always install apps directly from the Google Play Store.
- Official government websites end in .gov.in or .nic.in. Never type your Aadhaar number or banking OTP on domains ending in .top, .xyz, or .site.
- Government officials will never call you asking for your bank PIN, UPI mPIN, or Aadhaar OTP to update your food security card.
- If you accidentally clicked a suspicious link or lost money to a fake portal, report it immediately on cybercrime.gov.in or dial the national cyber financial fraud helpline at 1930.
Taking thirty minutes today to clear your household verification saves hours of bureaucratic headaches down the road. Just get the scans done. Once that green status shows up, your subsidized ration quota stays safe.